

Beyond Decoration: Budget Planning Custom Glass Wall Art
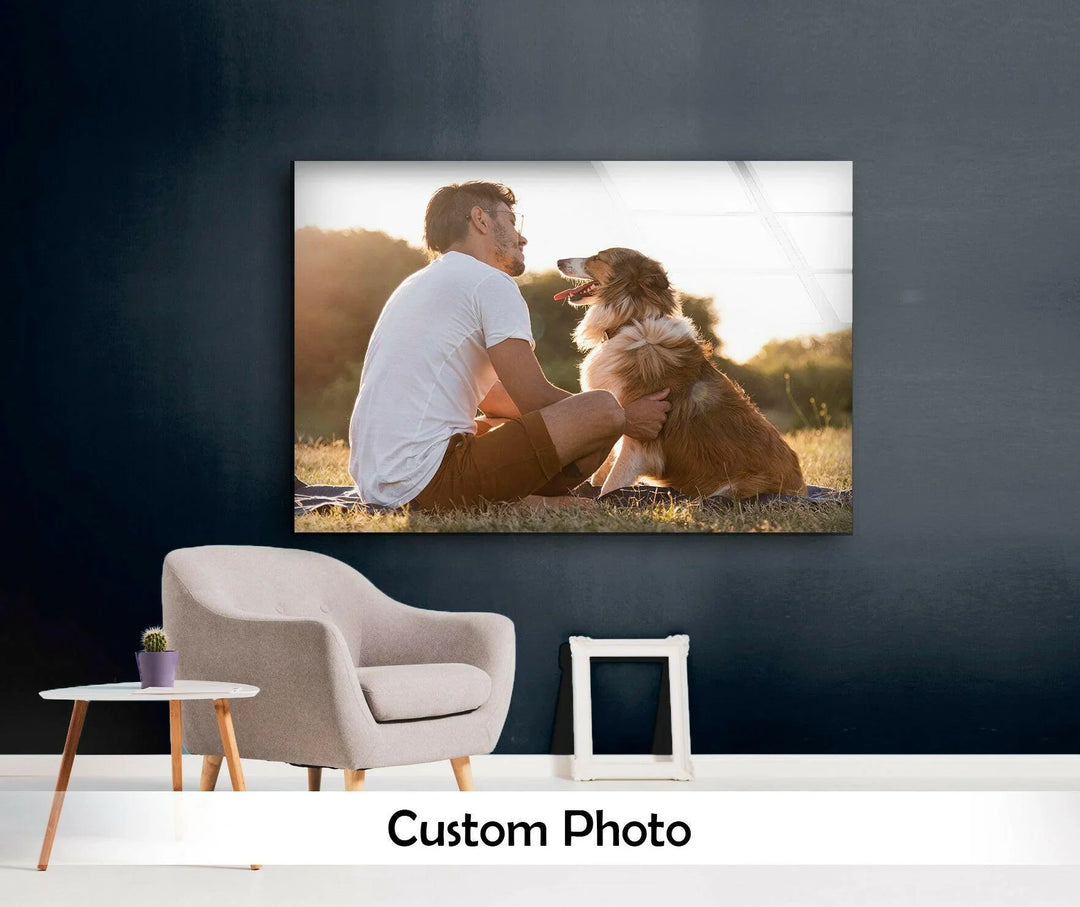
Effective budget planning for custom glass wall art requires allocating exactly 40 percent of total costs to structural integrity—specifically thermal tempering and extruded 6063-T6 aluminum Z-bar mounting systems—before considering surface aesthetics. A 36-by-48-inch pane of thermally tempered glass weighs nearly 37 pounds, which tears standard zinc self-drilling drywall anchors straight from USG Sheetrock plaster if mounted incorrectly. The scale looks proportionate against a Benjamin Moore Swiss Coffee living room wall, but ignoring the chemical composition and load-bearing requirements of architectural Starphire glass guarantees an expensive structural failure.
Specifying Material Quality Over Surface Area
The initial cost calculation for any architectural Starphire glass installation relies entirely on the chemical composition of the silica substrate, not just its square footage. Standard 4mm clear float glass carries a baseline cost of $5.00 to $8.00 per square foot. This annealed float glass material contains exactly 0.1 percent ferric oxide. That iron content casts a heavy green edge tint that reduces visible light transmission to 83 percent. Professional museum curators specify 6mm ultra-clear low-iron glass, such as Vitro Starphire or Pilkington Optiwhite. By dropping ferric oxide below 0.01 percent, this specialized silica formulation restores 92 percent light transmittance. This 9 percent transmittance increase transforms color accuracy in south-facing sunlit galleries. Upgrading to this Starphire material pushes the cost to $50.00 to $65.00 per square foot. The Custom Freeform Organic Glass Wall Art relies on this exact low-iron Optiwhite specification to maintain true Pantone CMYK color fidelity across its curved edges without muddying printed French Grey pastels.

Audit your primary Farrow & Ball paint palette and specify Pilkington Optiwhite low-iron glass immediately if your photographic print features soft Ansel Adams grays or cool titanium white tones.
Why Thermal Tempering Defines the Hardware Budget
Upgrading to ASTM C1048 tempered safety glass multiplies the flexural mechanical strength of the silica panel to safely support rigid French cleat hanging systems. Non-tempered 4mm float glass maxes out at exactly 6,000 PSI of flexural strength. It violently shatters into dangerous jagged shards under concentrated point loads. Budgeting for a sand-blasted etched glass installation requires factoring in 700-degree Celsius thermal tempering. Mandating this 40 percent budget allocation to thermal tempering and extruded 6063-T6 aluminum mounting hardware prevents catastrophic structural shear failure before aesthetic considerations begin. This thermal process increases strength to over 24,000 PSI. This 24,000 PSI structural rating safely supports the continuous shear tension imposed by a Monarch Z Clip French cleat system. A standard 36-inch by 48-inch Starphire panel weighs exactly 36.8 pounds. Supporting this specific mass requires an extruded 6063-T6 aluminum Z-bar cleat with a minimum thickness of 1.5mm and a height of 5cm. Stainless steel standoff bolts concentrate load stress at drilled CNC holes. These stainless steel mounting points introduce point-load shear vectors that guarantee long-term catastrophic failure. Flush-mount extruded aluminum Z-bars distribute panel mass uniformly across 16-inch stud spans. The Custom Panoramic Glass Wall Art demands this linear Monarch Z-clip distribution to prevent horizontal flex across its 72-inch wide visual span.

Calculate your Starphire glass weight at exactly 3.07 pounds per square foot and purchase a heavy-duty extruded aluminum Z-bar cleat that matches the full horizontal width of the Peter Lik photographic artwork minus two inches.
The True Cost of Second-Surface UV Printing
A thorough project budget dictates allocating funds for a 300 percent opaque titanium-dioxide white ink backing layer. Specifying second-surface multi-pass Mimaki UV-cured direct printing guarantees a fine-art print lifespan three times longer than front-surfaced Plexiglas acrylic. Direct-to-glass photographic printing requires opaque layers to prevent knock-down drywall texture from bleeding through the high-resolution image. Instruct the commercial fabricator to print on Surface 2, the interior rear face of the Starphire glass. Doing so applies Roland CMYK color layers followed by three full passes of opaque UV-cured white ink. Solid titanium-dioxide white underbeds permanently block ambient light bleed and ensure Pantone color vibrancy. The structural adhesive used to bond the extruded aluminum cleat directly to this UV-cured backing requires Dow Corning 795 neutral-cure silicone or 3M VHB 4910 acrylic foam tape to prevent catastrophic chemical delamination. The Custom Classic Oval Glass Wall Art perfectly illustrates this second-surface principle. An opaque Roland white backing shields the minimalist Bauhaus design from ambient shadows cast by the Monarch mounting hardware.

Request a physical 8x10 inch strike-off sample from your fine-art fabricator to verify the 100 percent opacity of the UV-cured white backing ink against a dark matte black background.
Matte Finishes for High-Light Environments
High-gloss surfaces fail in rooms dominated by large windows, requiring a shift toward acid-etched matte finishes despite a slight loss in image crispness. Conventional interior design rules dictate that ultra-clear, high-gloss 6mm Pilkington Optiwhite low-iron glass represents the absolute standard for bespoke glass installations. Fine-art gallery curators and Philips Hue lighting specialists hold a distinctly different, evidence-based view. In architectural spaces illuminated by directional 4000K Soraa LED downlighting or floor-to-ceiling double-glazed Schuco windows, glossy low-iron glass acts as a perfect silvered mirror. Specular light reflections completely overwrite the photographic artwork. Viewers constantly shift position to avoid harsh lumen glare. Specifying an acid-etched, non-glare Walker Textures low-iron glass or a matte Marabu UV protective top-coat finish delivers a visually superior experience in these high-lumen environments. This specification guarantees exactly a 3 percent loss in absolute 4K image crispness to diffuse ambient photon reflections and eliminate ocular visual fatigue entirely. The Custom Acrylic Glass Photo Block functions flawlessly on a shaded Herman Miller desk, but large-scale three-dimensional Starphire glass installations in a sunlit atrium demand a Walker Textures matte specification.

Observe your chosen Sheetrock wall space at solar noon and order an acid-etched Walker Textures matte finish if direct UV sunlight hits the substrate surface for more than two hours daily.
Final Installation Sequence and Wall Anchoring
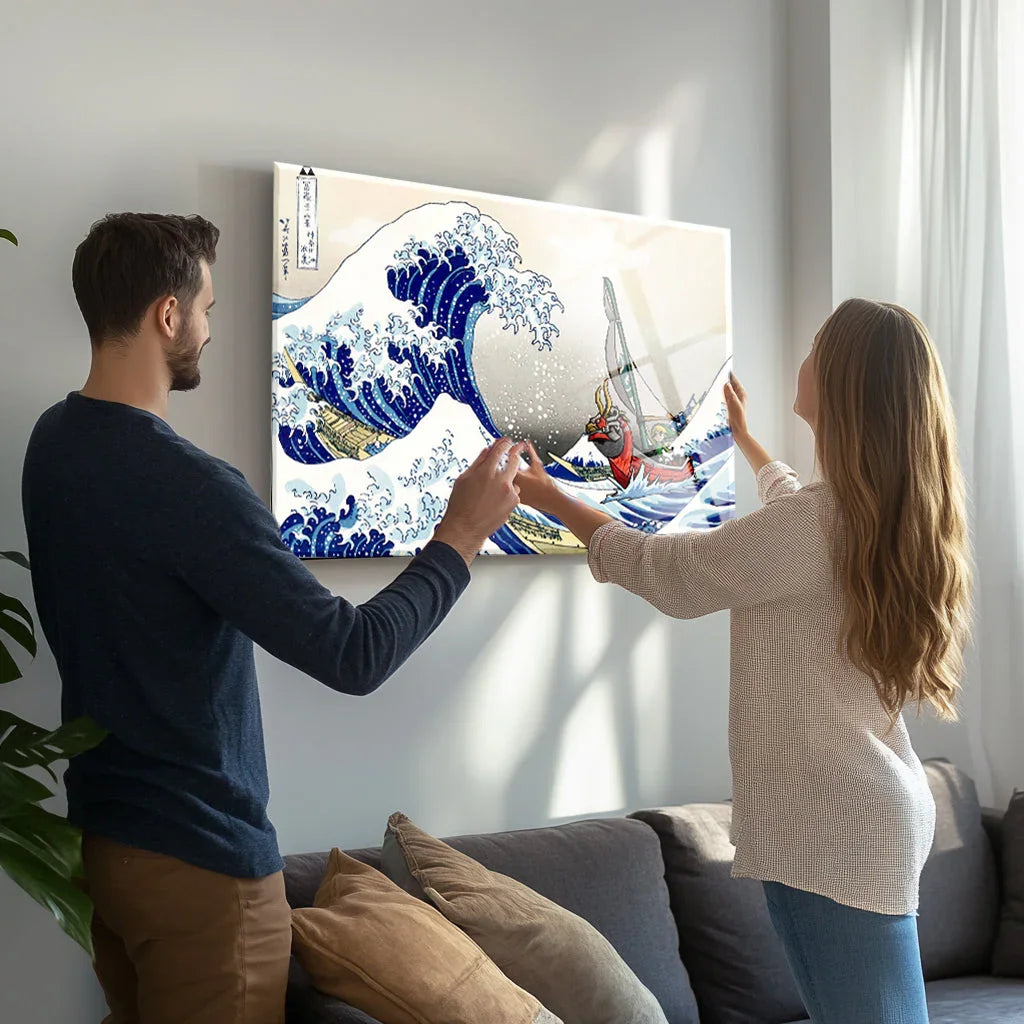
Proper mounting execution requires precise laser-level offset measurements and heavy-duty structural anchoring to achieve a parallel floating shadow-gap effect. Tiffany stained glass and heavy ASTM C1048 tempered pieces rely on strict geometric Euclidean precision during commercial installation. Bonding a flat silica panel directly to a painted drywall surface guarantees structural failure. The extruded aluminum Z-bar cleat sits exactly 5cm to 7.5cm below the top polished edge of the Starphire glass panel to completely hide the Monarch mounting hardware from the viewer's direct line of sight.
- Locate at least two 2x4 wooden Douglas Fir wall studs using a Zircon MultiScanner magnetic stud finder and mark their dead centres.
- Drive 2.5-inch number 8 GRK Fasteners pan-head wood screws through the wall-side extruded aluminum cleat directly into the marked Douglas Fir studs.
- Attach two 6mm 3M Bumpon silicone bumper pads to the bottom rear corners of the tempered glass to match the Z-bar cleat offset and prevent downward wall tilting.
Effective project management requires pricing structural integrity before visual aesthetics, ensuring the monumental final piece remains securely anchored to the drywall without mechanical failure. As a strict rule, long-term installation success requires allocating exactly 40 percent of your total fine-art budget to the thermal tempering process and extruded 6063-T6 aluminum mounting hardware before evaluating surface aesthetic upgrades. Planning for 37-pound material weight, Dow Corning 795 chemical adhesion, and 92 percent visible light transmission first guarantees the bespoke visual impact follows naturally and safely for decades.
Confirm the exact ASTM C1048 structural requirements for your next interior installation by checking the published architectural specifications within our custom glass wall art collection.